EVO 16

The EVO 16 from Audient sets a new standard for the sub-$500 range of audio interfaces. What you get with this audio interface is astounding! There are so many features in this beautiful black box you would think it would be overwhelming to use – but it’s actually easy enough for a complete beginner to use fully, after watching the single video below.
The Features
The Evo 16 packs a boat load of features that are usually reserved for more expensive audio interfaces.
- 2 Mic, Line, Instrument Inputs
- 6 Mic, Line Inputs
- 8 Analog Outputs
- 2 Optical Inputs
- 2 Optical Outputs
- Word Clock Out
- 2 Independent Headphone Outputs
- Motion UI Screen
- Programmable Function Button
- 48v Phantom Power
- Evo Mixer App
- Talkback
- Dim
- Mute
- Mono
- Speaker Switching
- Up to 4 Cue Mixes
- SMARTGAIN
- Loopback
- and more!
Now that’s a lot of features for under $500!
SMARTGAIN
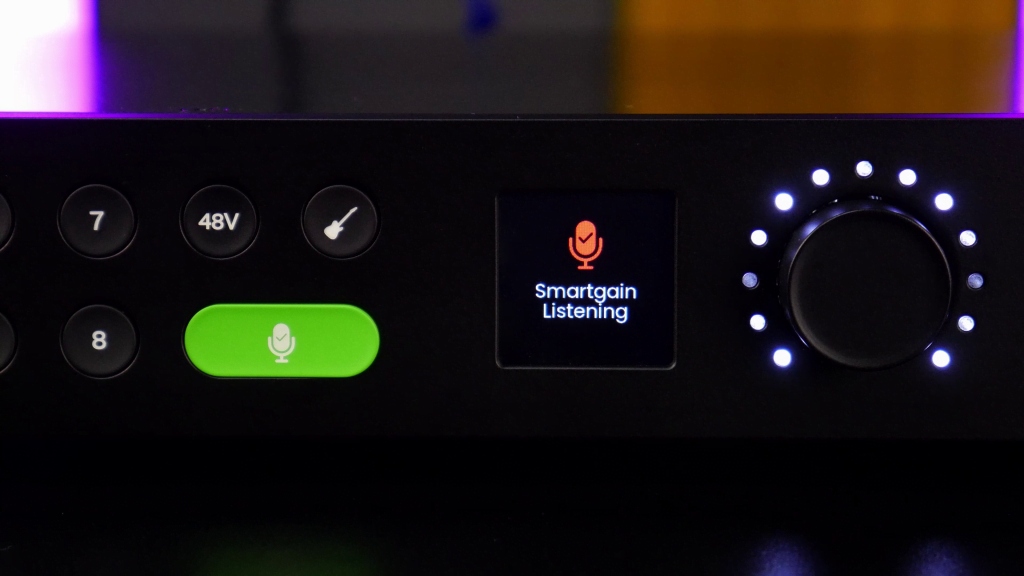
SMARTGAIN will set your input gain for you, and to proper levels. And all of this happens in under 20 seconds.
Of course you can set your input gain manually, but if you are dealing with several microphones, then setting the gain (especially if you are the engineer and performer) can take a long time.
But with SMARTGAIN you can set the input gain across all 8 inputs at the same time, which is a huge time-saver.
Microphone Preamps
The Evo 16 has a 58dB gain range, from -8 to +50dB.
That will be enough gain for the majority of microphones. But, if you are using a broadcast style dynamic microphone for spoken-word recording (voiceover, narration, YouTube video, etc…) then you’ll want to have a Cloudlifter type device on hand. Something like the Shure SM7B works best with about 60-70dB of gain when you are using it voice-over style work. (I have a full list of links for cables and other gear you’ll want so you can use your Evo 16 to it’s fullest.)
However, 50dB of gain will be fine for using dynamic microphones to record singing, or instruments. And 50dB of gain is more than enough for condenser microphones.
Sure, it would be great if the preamps had 65 to 75dB of gain, but that would add to the cost of the unit. If you ever price an interface with 75dB of gain, you’re usually looking at around $2000+ ?
So the Evo 16 will easily drive condenser mics, and many dynamic mics, the only time you’d need to consider an external preamp or Cloudlifter type device is for Broadcast style dynamic microphones.
Evo Mixer

The on-screen Evo Mixer app makes it easy to setup your no-latency monitor mix, setup Cue Mixes, activate Functions like Mono, Talkback, and Mute, adjust input gain, and even turn on Phantom Power!
It’s a visually pleasing app to look at, and it’s easy to use once you learn what everything does.

You also have full control of audio Routing. And since the Evo 16 has tons of outputs, you have a giant number of ways to route your audio just where you want.
ALT SPEAKER

Another awesome feature of the Evo 16 is the ALT SPEAKERS function.
You can use this function to quickly switch between two sets of studio monitors. Simply assign it to the ‘F‘ button, or activate it from the Evo Mixer.
MOTION UI Screen

The MOTION UI Screen displays vital information like your input/output meters, volume level, gain level, and more.
It’s a high resolution, full color screen, that is viewable from every angle.
Loopback
Audio Loopback is a MUST HAVE feature for any modern interface!
So what can you do with it?
Well, you can easily route computer based audio into your DAW for one. What is computer based audio? Think of any non-DAW audio that is playing on your system. So things like a video playing in a browser, a media player, a Zoom call, etc…
You can use Loopback to route that system audio into your DAW for recording, plus you can record a microphone along with it, which makes it great for podcasting for example.

Another way to use Loopback is for livestreaming or screen recording. With Loopback (on Windows) you can easily route your ASIO DAW out into something like OBS for your livestream or if you want to capture the screen and DAW audio at the same time for a plugin tutorial video for example.
You could also route your DAW audio out into Zoom, Google Meet, and other similar apps/services.
You CAN do the same thing on Mac, but you will need to use an additional app like BlackHole, GroundControl Room, or Rogue Amoeba Loopback. Don’t worry, we’ll cover all of this in the video below, and you can find all the links mentioned in the video here.
Even MORE Feature!
We’ve already covered a ton of features here, but there are many more like Talkback, Cue Mixes, Mono mode, Phantom Power, and more.
It’s best to actually SEE & HEAR all of this stuff, and not just read about it!
So check out the video below to learn EVERYTHING about the Audient Evo 16.
The video is split up into Chapters, so you can quickly find just what you want to know.
VIDEO
Links from the Video
I’ve setup a separate page with all of the gear and links mentioned in the video here.
Conclusion
The Evo 16 is a MONSTER of an audio interface! The fact that it’s only $499 is quiet mind blowing ?
For the amount of features that are included, and the amount of I/O, the Evo 16 sets a new standard for features vs. price. It’s worth considering when you’re hunting for a new audio interface.
If you want to check it out further, head over to evo.audio
And pick one up from the most trusted online music store – Sweetwater.


More Awesome Stuff
Hide Your REAL NAME in FL Studio
How To Removed Copyright Music and Keep the Dialogue
How To Use Retrospective Recording in Studio One 6