
EVO 4 by AUDIENT
THE SMARTEST AUDIO INTERFACE

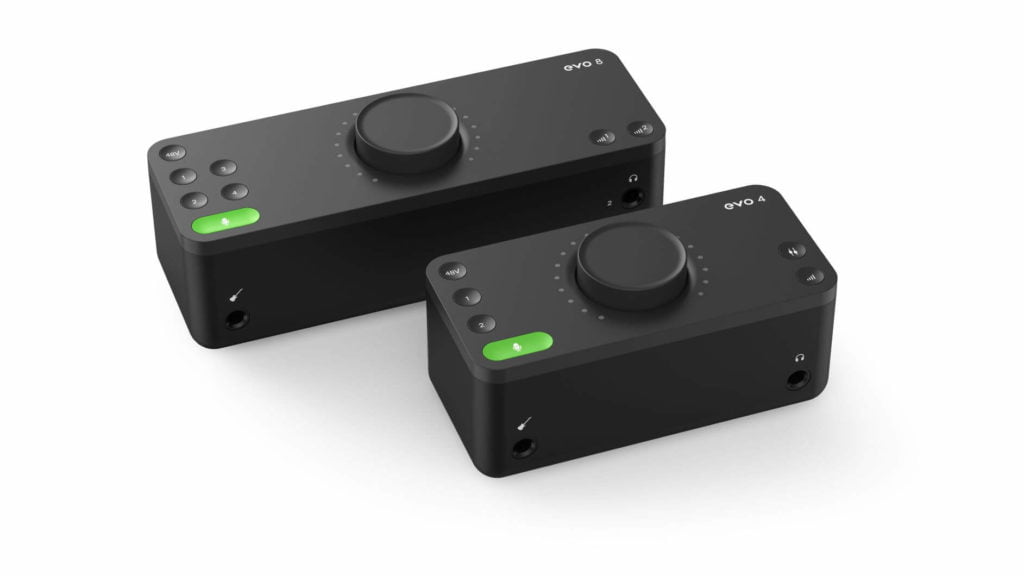
The Evo 4 is a 2in / 2out audio interface, making it perfect for solo creators and mobile recording.
It also includes Loopback, which makes it useful for podcasters or those wanting to stream their DAW audio with OBS or Streamlabs for example.
And, it introduces a new feature called ‘SmartGain‘ which can automatically set your input gain levels.
The Evo 4 is compatible with Windows, Mac, and some iOS devices.
For the video below we’ll be using Windows.
And even though we are talking about the Evo 4 here, pretty much everything you will see also applies to the Evo 8.
VIDEO
TIMECODE
- What’s Included – 1:25
Interface & Features – 1:39 - Phantom Power – 3:39
SmartGain – 4:10
Input Gain (Manually Set) – 4:51
Stereo Channel Linking – 5:06
Volume Output – 5:20
Muting – 5:47
Monitor Mix – 6:10
Monitor Pan – 6:33 - Register Interface & Download Software – 6:50
- Install Drivers – 7:36
Connect to Computer – 8:01
Update Firmware – 8:09 - Connect Monitors or Headphones – 9:00
- Set as Windows Output Device – 9:12
- Setup With Your DAW (Pro Tools) – 10:56
- Setup with Cubase LE 10.5 – 13:33
Setup with Studio One – 14:11
Setup with Reaper – 14:40
Setup with Abletone Live 10 – 15:12
Setup with FL Studio 20 – 15:37 - Record a Microphone (Pro Tools) – 15:56
Record a Microphone (Cubase LE 10.5) – 18:29 - Record Guitar – 19:49
- Loopback – Computer Audio Into DAW – 22:26
- Loopback – DAW Audio Into OBS/Streamlabs – 24:47
WHAT’S INCLUDED
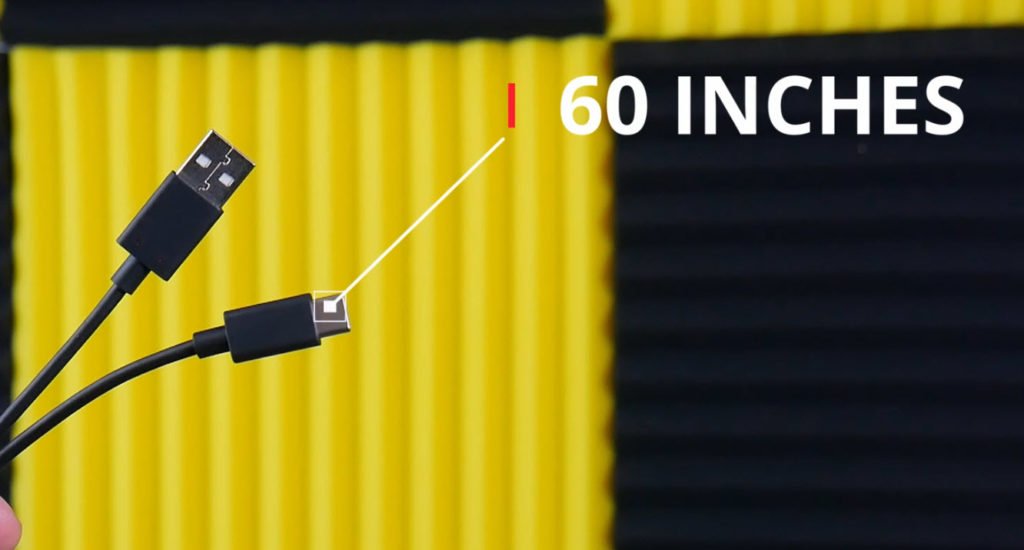
In the box you’ll find the Evo 4 interface, a USB-C to USB-A cable, and a quick start guide.
You’ll also get a collection of free software once you register the unit.
And, for those wondering, the included USB cable is about 60 inches long.
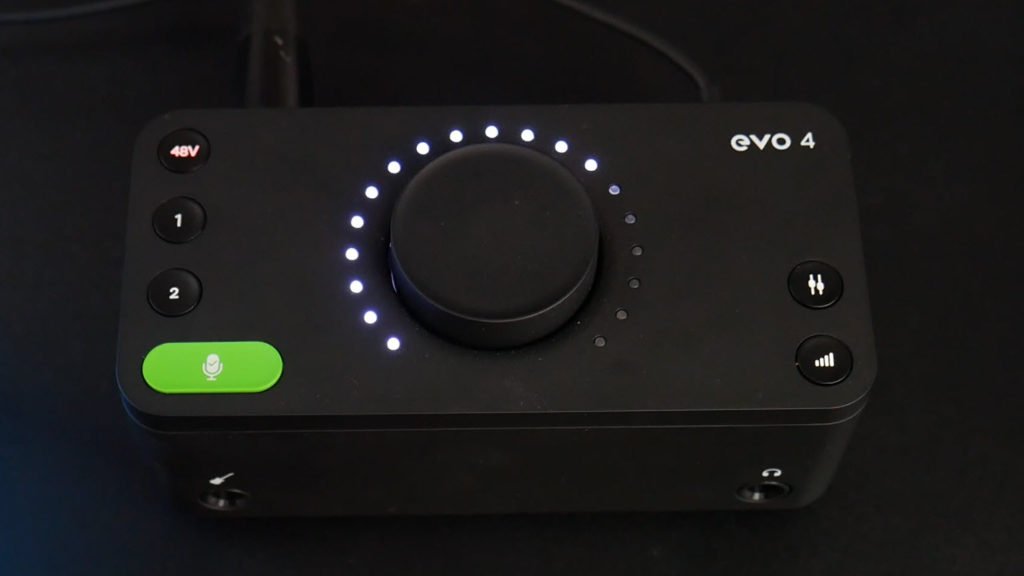
THE INTERFACE
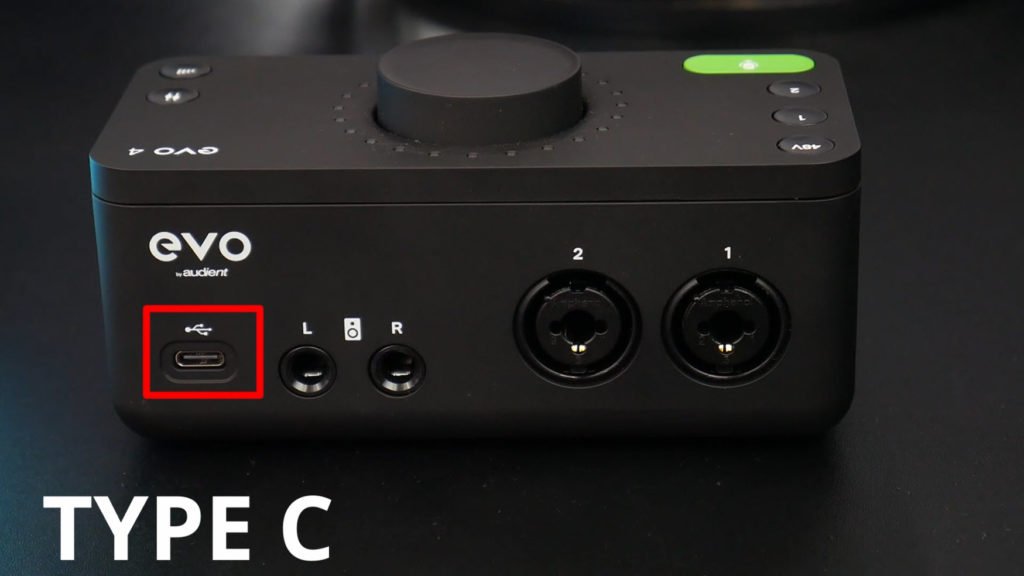
The USB port on the rear is a type C port. But, this interface runs on USB 2.
Don’t worry, USB 2 is more than fast enough for this interface, just check the math.
And of course you can plug it in to a USB3 port.
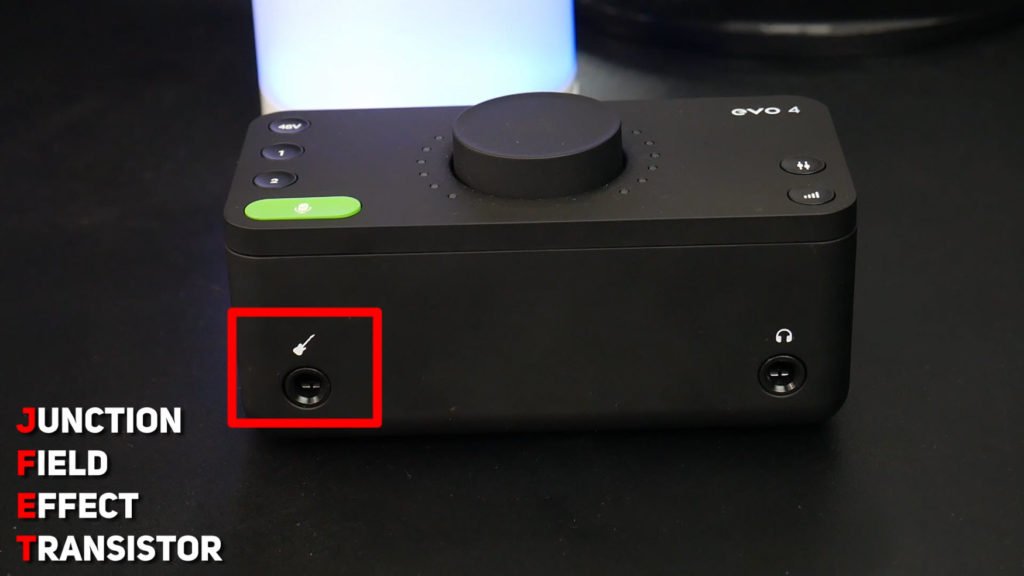
There’s a JFET instrument input on the front. You would use this input for guitar or bass for example.
If your guitar or bass has active pickups that are high output, you could also plug in to either of the inputs on the rear. But, all passive pickup instruments should be plugged in to the DI on the front.
The instrument input on the front, overrides anything plugged into input 1 on the rear.
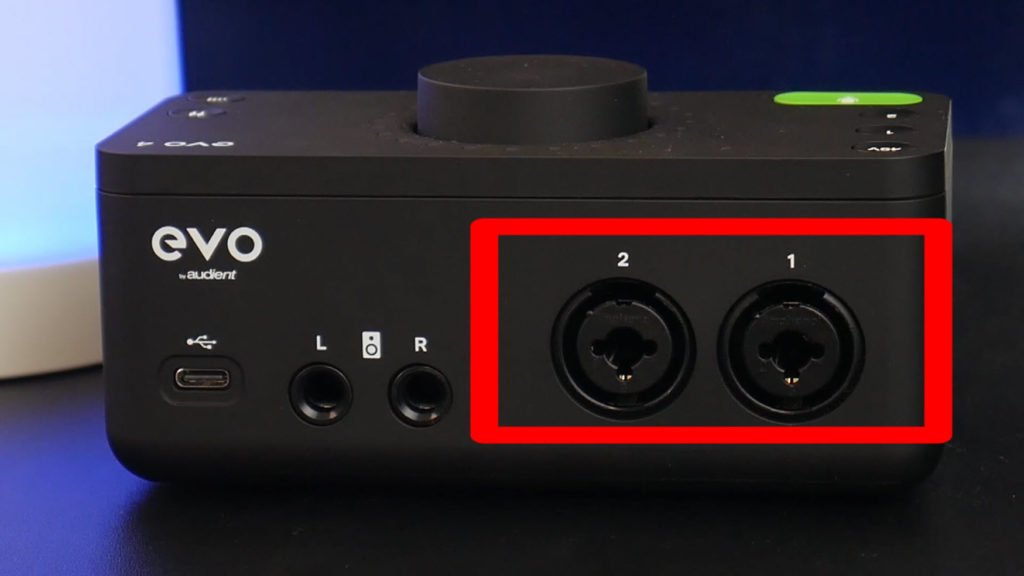
The two inputs in the rear are combo XLR – 1/4″ inputs.
Use an XLR cable to connect a microphone.
The Evo 4 has a 58db gain range.
So, that’s enough for most microphones – and, these pre-amps sound great! Especially when you consider the price of this unit.
Or use a 1/4″ TRS cable for line level devices like the output of a hardware synth, or DJ deck.
And, as mentioned, you can also use standard 1/4″ instrument cables if you are connecting a guitar or bass with high output active pickups.
There are two line outputs on the rear.
You would use these outputs to connect your studio monitors/speakers.
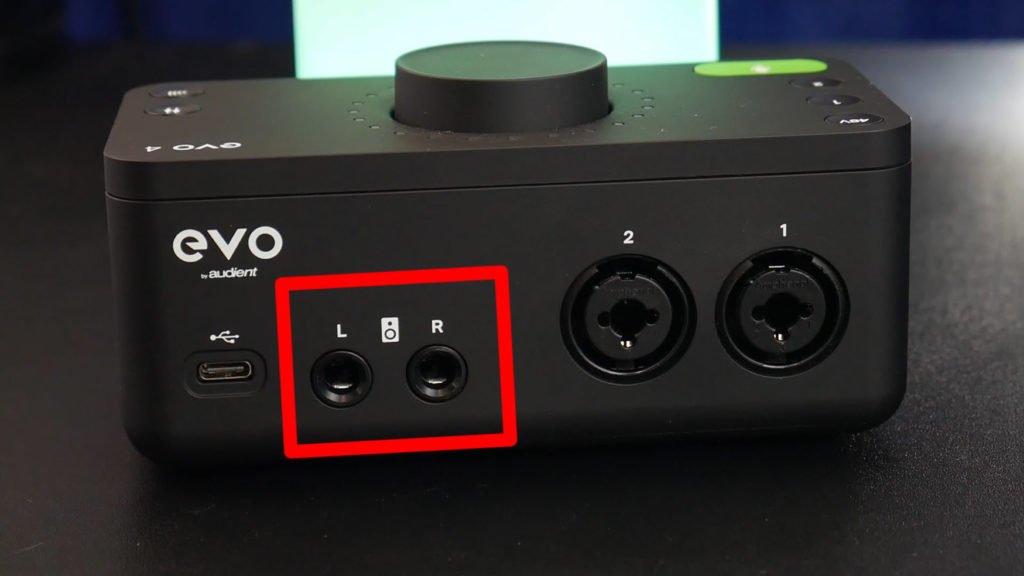
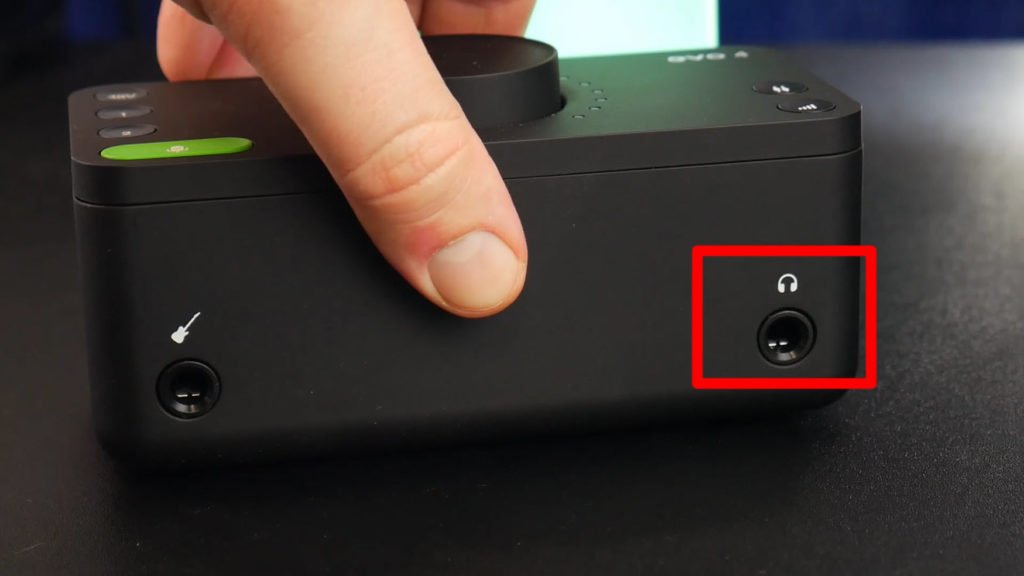
There is also a headphone output on the front.
When you plug in a pair of headphones, the outputs on the rear will be automatically muted.
HOW TO USE IT
PHANTOM POWER
This interface can supply 48 volt phantom power to the two inputs on the rear.
And, you can turn it on PER input.
For example, if you have a condenser microphone that requires phantom power plugged in to input 1.
Press 1 and then press 48V
Now, phantom power is on, and only for input 1.
To turn it off, select the channel, and press the red 48v button.
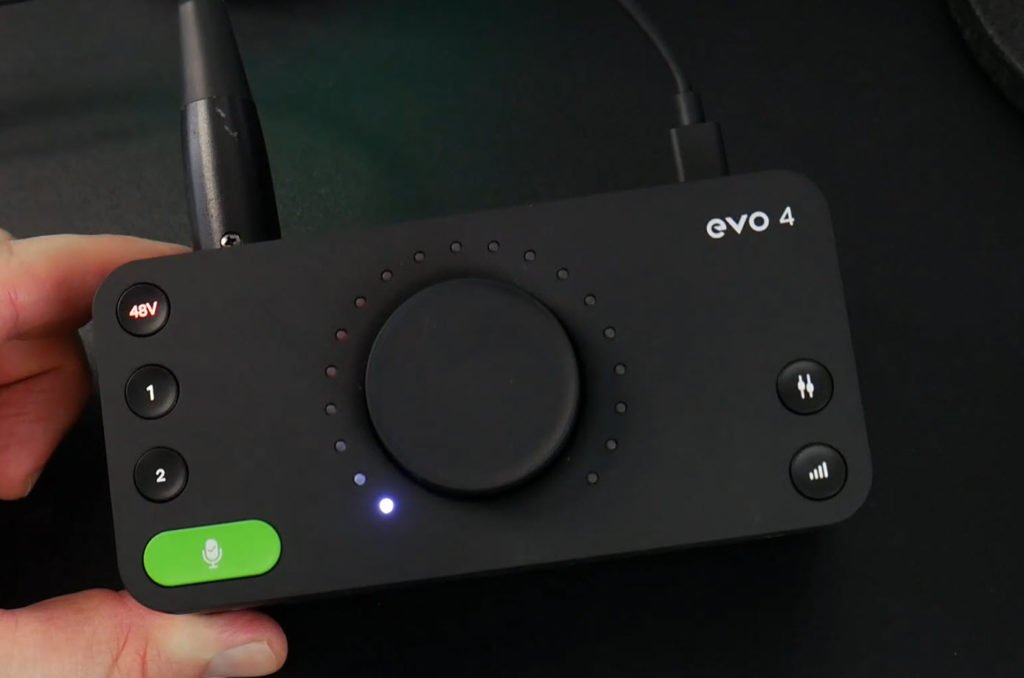
SMARTGAIN
The Evo 4 includes a new feature called SmartGain that can automatically set the proper input gain level for you.
To use it:
Press the green SmartGain button, then select the channel.
Press the SmartGain button again and it will flash red, indicating that it’s active.
Start speaking, singing, or playing your instrument into the microphone at a level representative of your performance.
When the level is set, the SmartGain button will flash green twice, and you’re ready to record with proper levels.

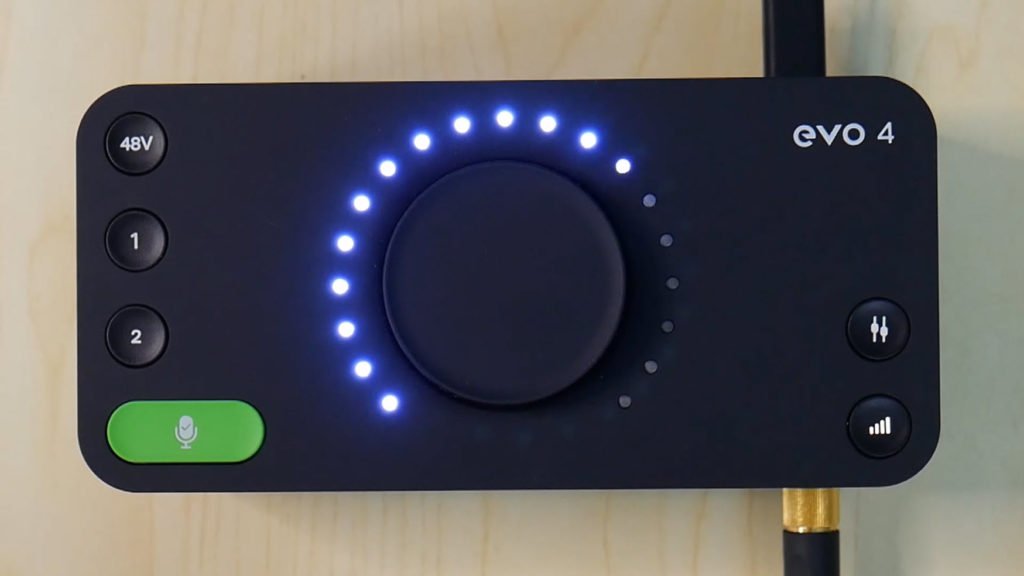
MANUALLY SET INPUT GAIN
Of course, you can also set the input gain manually.
Simply press a channel button, and turn the big knob.
Make sure you don’t clip! Keep an eye on the LED ring, it will show you your input level.
You can also link channels together by pressing them at the same time.
Then, when you set the gain, it will be the same for each channel. Which can be great for stereo sources like the input of a mixer, or two microphones on a piano for example.
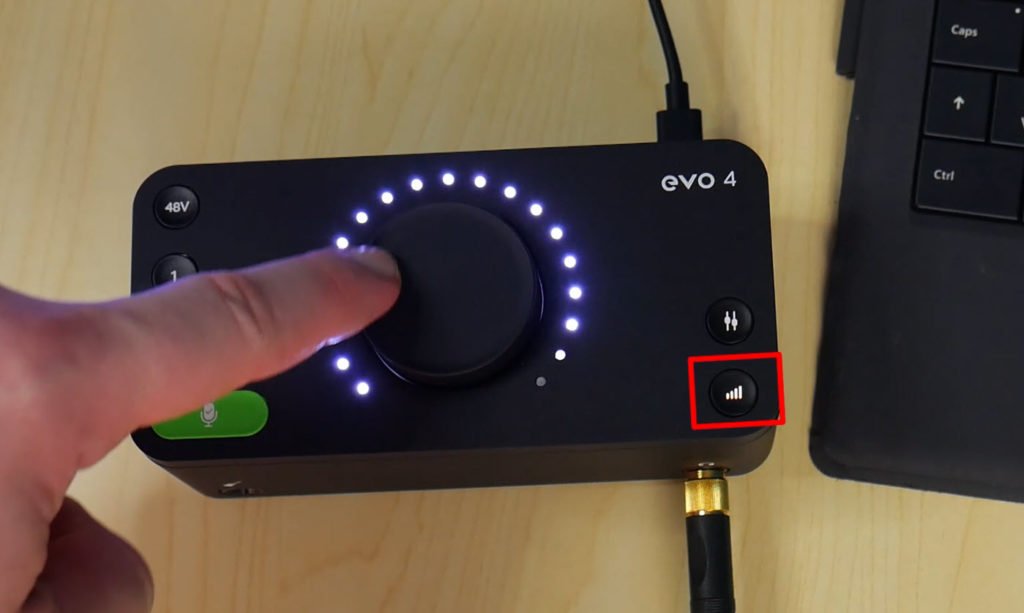
VOLUME OUTPUT
When you want to turn the output volume up or down, press the Output Volume button and adjust the volume knob.
Don’t worry, you won’t need to press the Output Volume button every time you want to adjust the volume.
You only need to press the button if you have switched to a different mode, like input gain, etc….
Output volume will affect the Main outputs and headphone output.
MUTING
If you want to quickly Mute the output of the Evo, press and hold the Output Volume button.
The button will start to blink so you know it’s muted.
Press and hold again to hear your audio.
If you want to mute an input, like a microphone during a podcast, press and hold the proper input button.
The button will blink while muted.
Press and hold again to resume input.
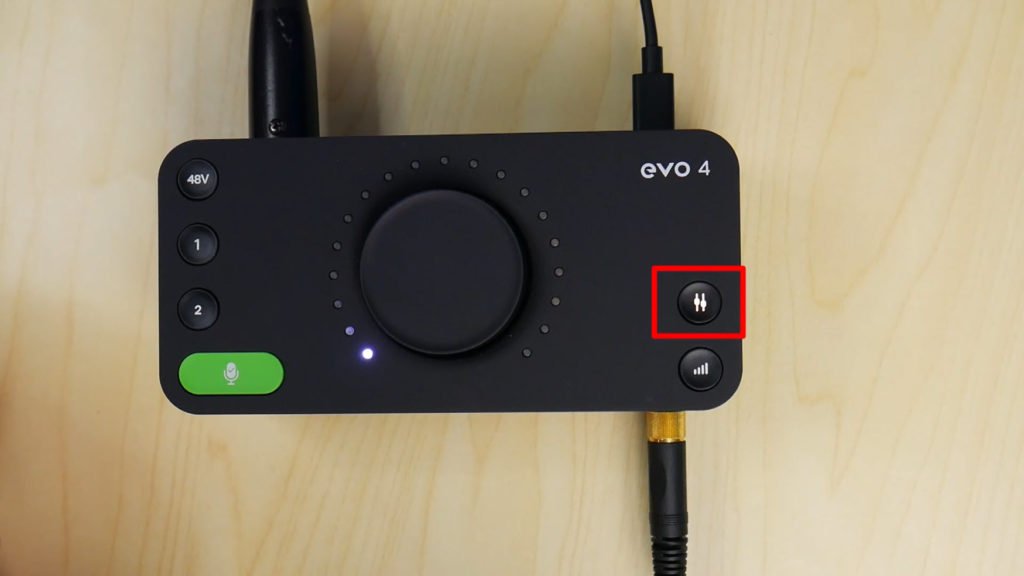
DIRECT MONITOR
When you need to hear what you are recording with no latency and adjusting your buffer isn’t an option, you can choose to monitor the direct input of the Evo, or a blend of the input and DAW output.
Press the Monitor Mix button and turn the big knob counterclockwise to hear the input, or clockwise to hear the output of the DAW.
MONITOR PAN
If you need to hear the input monitor in stereo, like two microphones panned left and right, or a stereo hardware synth, the Evo makes it easy.
Press and hold the Monitor Mix button, and turn the big knob.
LOOPBACK
Yes – Loopback is included with the Evo 4!
If you have never had an interface that includes loopback, you have no idea what you’ve been messing – it’s freaking awesome!
Loopback allows you to do things like record computer audio into your DAW, or send DAW audio out into OBS Studio, Streamlabs, or any other screen-capture or streaming software.
It’s such a useful feature to have, and you get it with the Evo.
Use loopback to record Sykpe audio, a media player, or the audio from a YouTube video into your DAW for example.
Or, use it to record your screen and send your DAW audio out into something like OBS Studio to create plugin or DAW tutorials and demos.
You could also livestream your DAW audio for a live plugin demo, or musical performance or podcast. The possibilities with loopback are endless.
Loopback is covered in the video above, but I have split out the two loopback sections into individual videos to make it easier to follow along and re-watch.
https://youtu.be/UxHt5dTLmc8https://youtu.be/nhq0tXpMaJA
This interface is great for beginners, but also pretty amazing for pros that want advanced features, sweet sounding pre’s, and a small footprint.
And, if you want to record while traveling, this interface is small enough to fit in your laptop bag with a pair of headphones.
If 2 inputs aren’t enough, check out the Evo 8. It has all the same features, with more I/O.
LINKS
▶Check out the Evo line of interfaces here
https://evo.audio/
▶Register the Evo 4 here
https://arc.audient.com/
▶Evo 4 Drivers
https://evo.audio/products/evo-4/downloads/
FOR LOOPBACK SCREEN RECORDING AND STREAMING
OBS Studio and Streamlabs are both totally free. I suggest you start with OBS Studio. Once you understand it, check out Streamlabs, which is easier to use for streaming.
▶Get OBS Studio: https://obsproject.com/
▶Get Streamlabs: https://streamlabs.com/
If you want a free video editor to edit the videos you record with OBS or Streamlabs, the one I currently recommend is DaVinci Resolve. YES, it’s totally free.
▶Get DaVinci Resolve (video editor)
https://www.blackmagicdesign.com/products/davinciresolve/
If you don’t like Resolve, you can try Hitfilm Express (also free)
▶Get Hitfilm Express
https://fxhome.com/hitfilm-express


More Awesome Stuff
Sonarworks SoundID Virtual Monitoring PRO – Clone ANY Room and Mix in Headphones
zplane PEEL STEMS 2 – Real-Time Stem Separation Plugin
WAVES MIX UNLOCK – Real-Time Stem Separation