DaVinci Resolve
Compound Clips
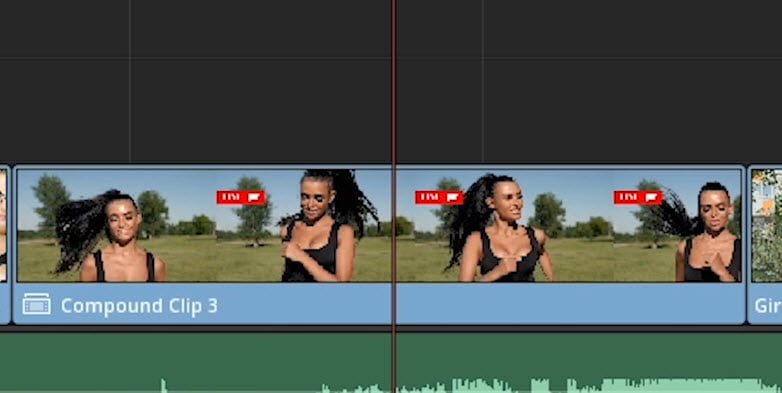
There are many reasons to use Compound Clips in DaVinci Resolve.
When you nest clips in a Compound Clip they essentially become one clip.
This means if there are 3 clips stacked in a timeline and you need to cross-dissolve to the next clip, you would normally have to apply 3 cross-dissolve transitions.
But, if you created a Compound Clip instead, you could use a single cross-dissolve.
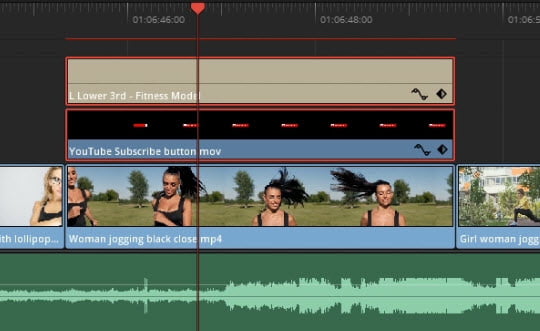
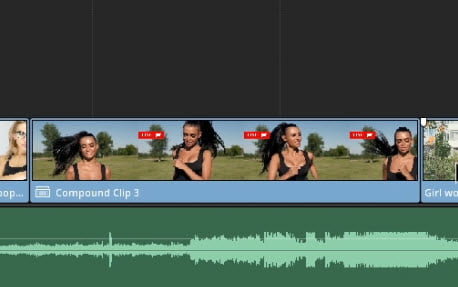
To create a Compound Clip all you have to do is select the clips you want included (video and/or audio)
Right-Click on any clip, and choose New Compound Clip.
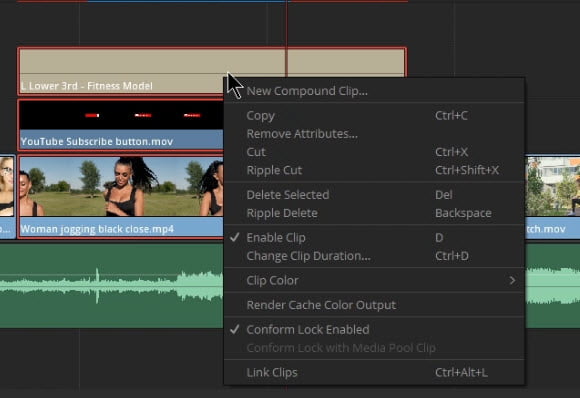
You could create a Compound Clip of a sequence of video and audio clips, thereby turning all of those clips into a single clip which would make it easier to move around the timeline or to reuse.
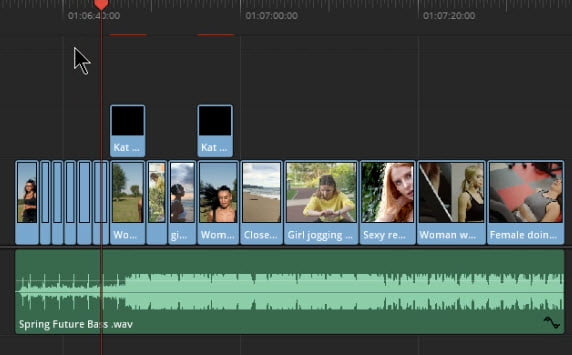
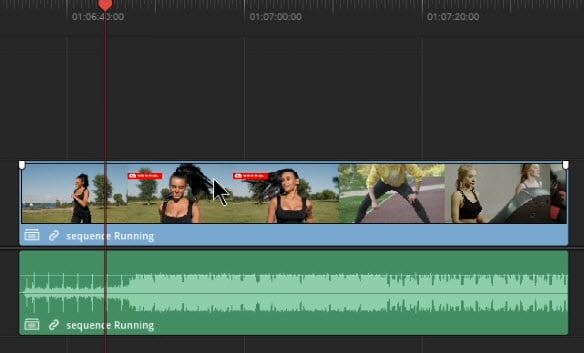
When you create a Compound Clip, it will also be saved in your bin. This means you can easily re-use a composition by dragging it in from your bin.
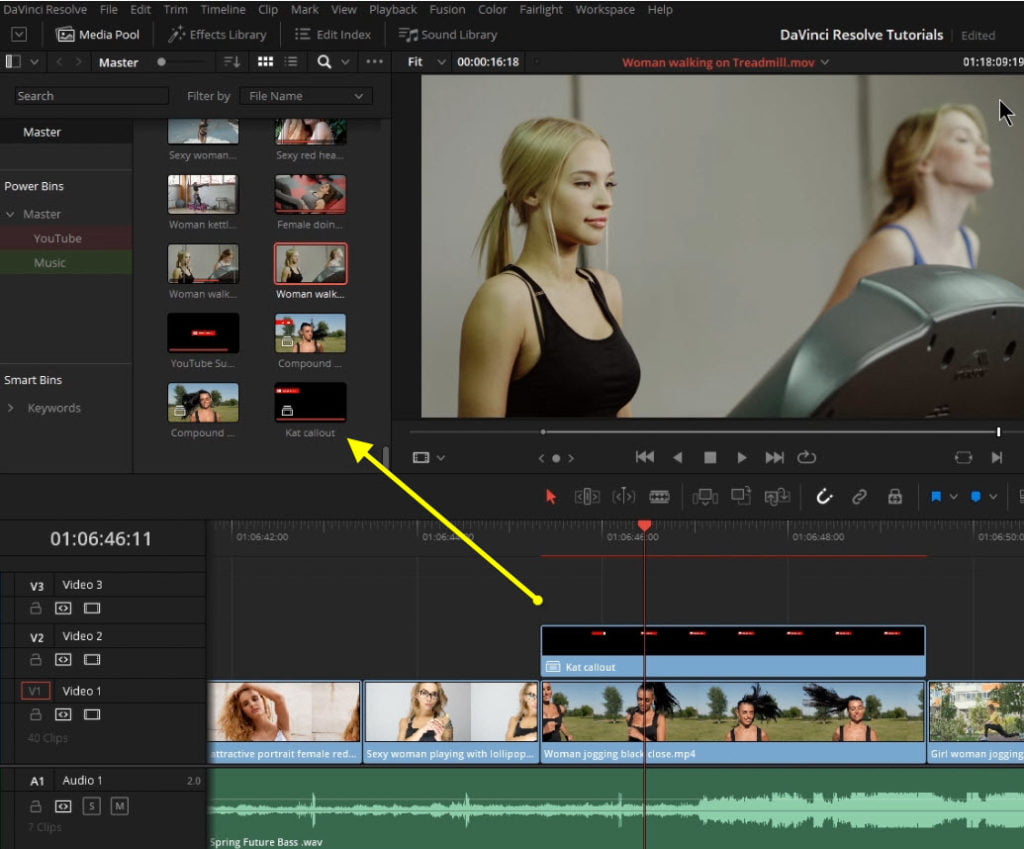
If you want to apply the same effect, or same movement to a sequence of clips with keyframes, you could create a Compound Clip and apply your effect to that single clip and it would affect all clips contained in the Compound Clip.
Compound Clips are kind of like folders for clips.
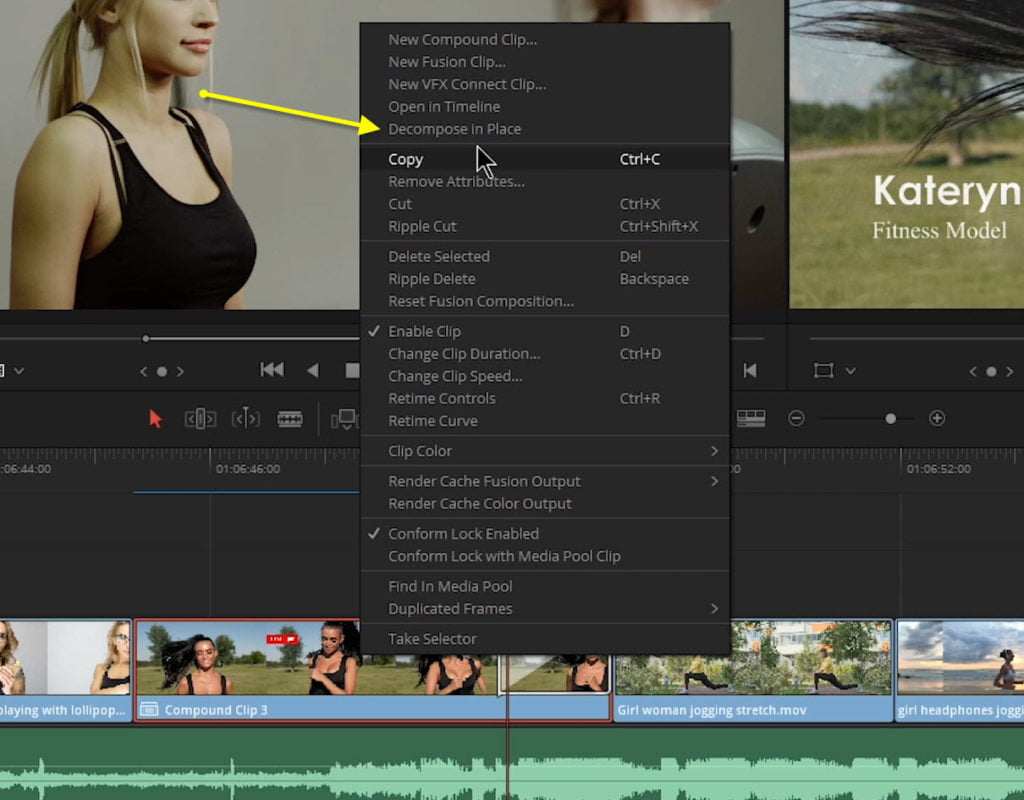
Plus, you can easily “Decompose” your clips, or UN-compound, or UN-nest the clips at anytime to make adjustments to the individual clips.
This also pertains to audio clips.
You could create a single Compound Clip that contains several audio clips – making it easier to re-use a complex sound effect sequence or adjust the volume levels of all clips at the same time.
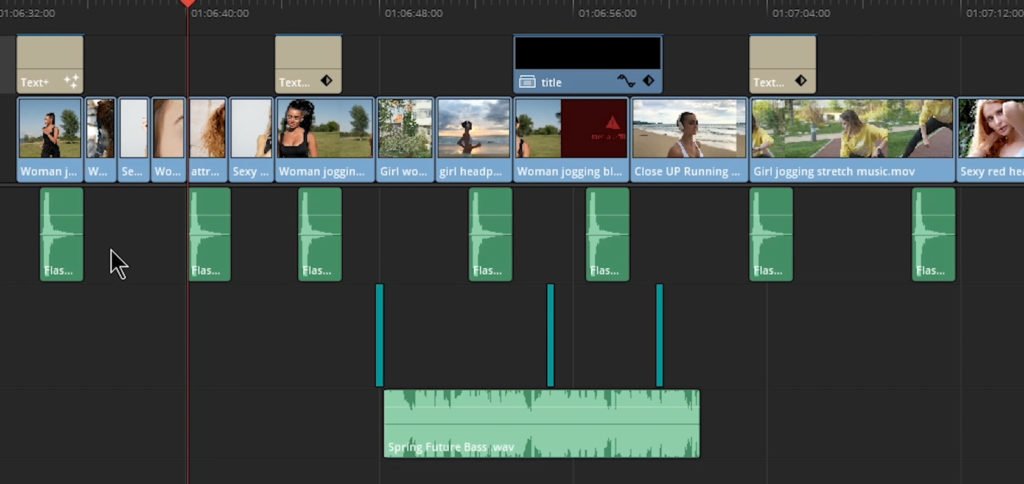
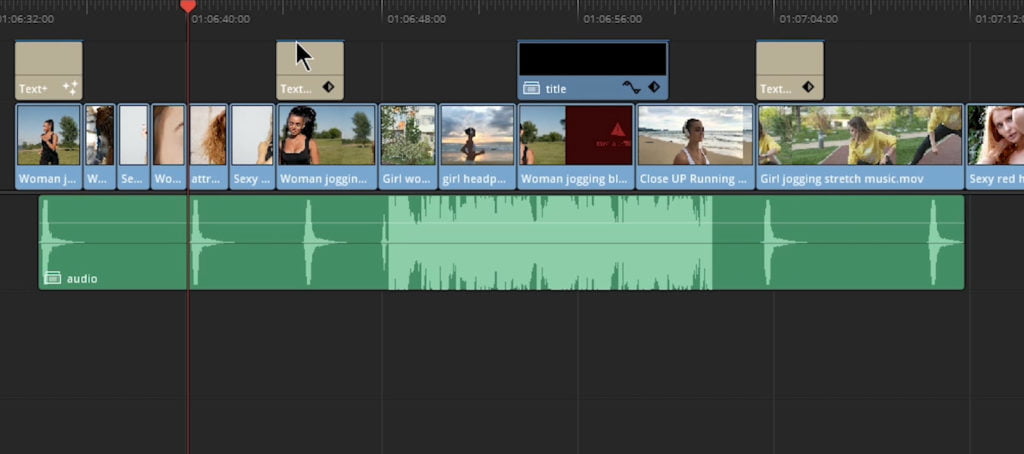
Watch the video to see how cool Compound Clips really are in DaVinci Resolve
Want more awesome FREE DaVinci Resolve tutorials?
Checkout our DaVinci Resolve playlist on YouTube



More Awesome Stuff
Hide Your REAL NAME in FL Studio
How To Removed Copyright Music and Keep the Dialogue
How To Use Retrospective Recording in Studio One 6